In the construction process of the watercolor paper pendant, there are several important steps needed for preparation before a final created piece.
For starters, a paper of watercolor needs to be created. On this paper, freely apply color paint with the use of a brush to small areas of the paper by splattering and brushing colors. When applying colors, use complementary colors in tight color areas, which will flow into one another to produce a large variation of colors. When the paper dries and gets to a correct moisture point, add sea salt to create texture and pattern. Then let the paper thoroughly dry.
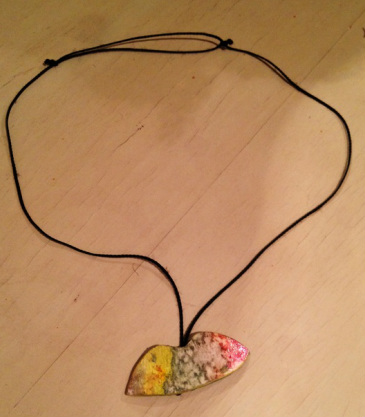
As the watercolor paper dries, think of possible realistic or abstract shapes that can be designed. Using a sketchbook, creatively construct one single piece and one integrated piece with two or more connected pieces to make a necklace. Then pick one and use a self- healing cutting board and blade to cut out the desired shape; using rotation of the paper without lifting the blade. Do this process about four times with the same exact shape.
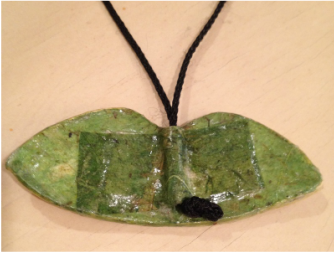
After this, glue the four cutouts together using Elmer’s glue. With a paintbrush, thickly apply the glue onto the cutout and lay in the next layer. It is important to use a fair amount of pressure without squeezing out the glue in order to make a flat layer. Do this until all four cutouts are glued one on top of the other. Press down gently to avoid lifting of layers. Then make a slight curve by pressing the layers against a slightly curved object, such as a tin can. Depending on how the design of the necklace is, the curve should complement it. A vertical designed necklace should have a curve that flows from the left to the right in the vertical direction and a horizontal designed piece should be curved from left to right along the horizontal axis. Make sure to rub your fingers against the cutout and curved object for a few minutes. After this allow it to dry for an hour using a toaster oven at 150 degrees to dehydrate the paper and glue. Then make the cord channel using wax.
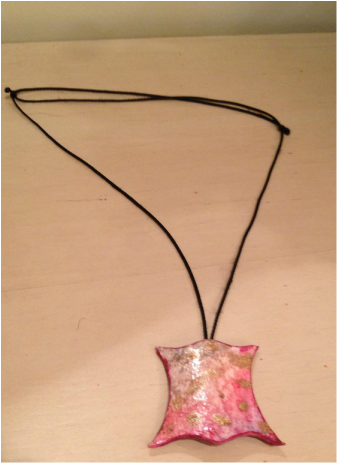
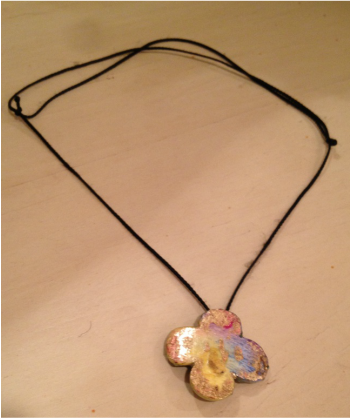
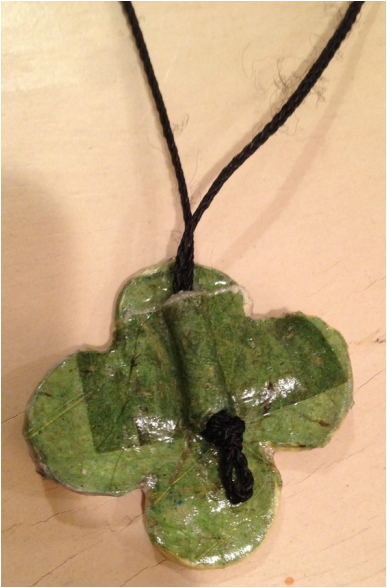
After the piece has dried, use sand paper and a hand round file to refine the linear curve and make a smooth edge. Around concave areas, the forward stroke is necessary to prevent any sharp sides. After this is done, explore possible surface areas from the designed watercolor paper. Use the cutout window to trace the shape outline on the watercolor paper, cut it out, and glue it to the piece. After gluing, make a sandwich with a paper towel to remove excess glue and to make sure there are no elevated areas. Let it dry for 30 minutes and then glue banana paper to the back of the piece. Then repeat the sandwich technique, let it dry, and sand down the excess sides. Finally, add watercolor to the edges to complete and finish the look.
For starters, a paper of watercolor needs to be created. On this paper, freely apply color paint with the use of a brush to small areas of the paper by splattering and brushing colors. When applying colors, use complementary colors in tight color areas, which will flow into one another to produce a large variation of colors. When the paper dries and gets to a correct moisture point, add sea salt to create texture and pattern. Then let the paper thoroughly dry.
As the watercolor paper dries, think of possible realistic or abstract shapes that can be designed. Using a sketchbook, creatively construct one single piece and one integrated piece with two or more connected pieces to make a necklace. Then pick one and use a self- healing cutting board and blade to cut out the desired shape; using rotation of the paper without lifting the blade. Do this process about four times with the same exact shape.
After this, glue the four cutouts together using Elmer’s glue. With a paintbrush, thickly apply the glue onto the cutout and lay in the next layer. It is important to use a fair amount of pressure without squeezing out the glue in order to make a flat layer. Do this until all four cutouts are glued one on top of the other. Press down gently to avoid lifting of layers. Then make a slight curve by pressing the layers against a slightly curved object, such as a tin can. Depending on how the design of the necklace is, the curve should complement it. A vertical designed necklace should have a curve that flows from the left to the right in the vertical direction and a horizontal designed piece should be curved from left to right along the horizontal axis. Make sure to rub your fingers against the cutout and curved object for a few minutes. After this allow it to dry for an hour using a toaster oven at 150 degrees to dehydrate the paper and glue. Then make the cord channel using wax.
After the piece has dried, use sand paper and a hand round file to refine the linear curve and make a smooth edge. Around concave areas, the forward stroke is necessary to prevent any sharp sides. After this is done, explore possible surface areas from the designed watercolor paper. Use the cutout window to trace the shape outline on the watercolor paper, cut it out, and glue it to the piece. After gluing, make a sandwich with a paper towel to remove excess glue and to make sure there are no elevated areas. Let it dry for 30 minutes and then glue banana paper to the back of the piece. Then repeat the sandwich technique, let it dry, and sand down the excess sides. Finally, add watercolor to the edges to complete and finish the look.


 RSS Feed